At last I've started the installation of the wood burning stove (and the chimney).
As you can see the whole project came as such a surprise that, having stood around for months after I bought it from Machine Mart, the stove fell over in shock.
It needs to be finished before the Autumn gales so I had to get a move on, even if it delays the kitcar project.
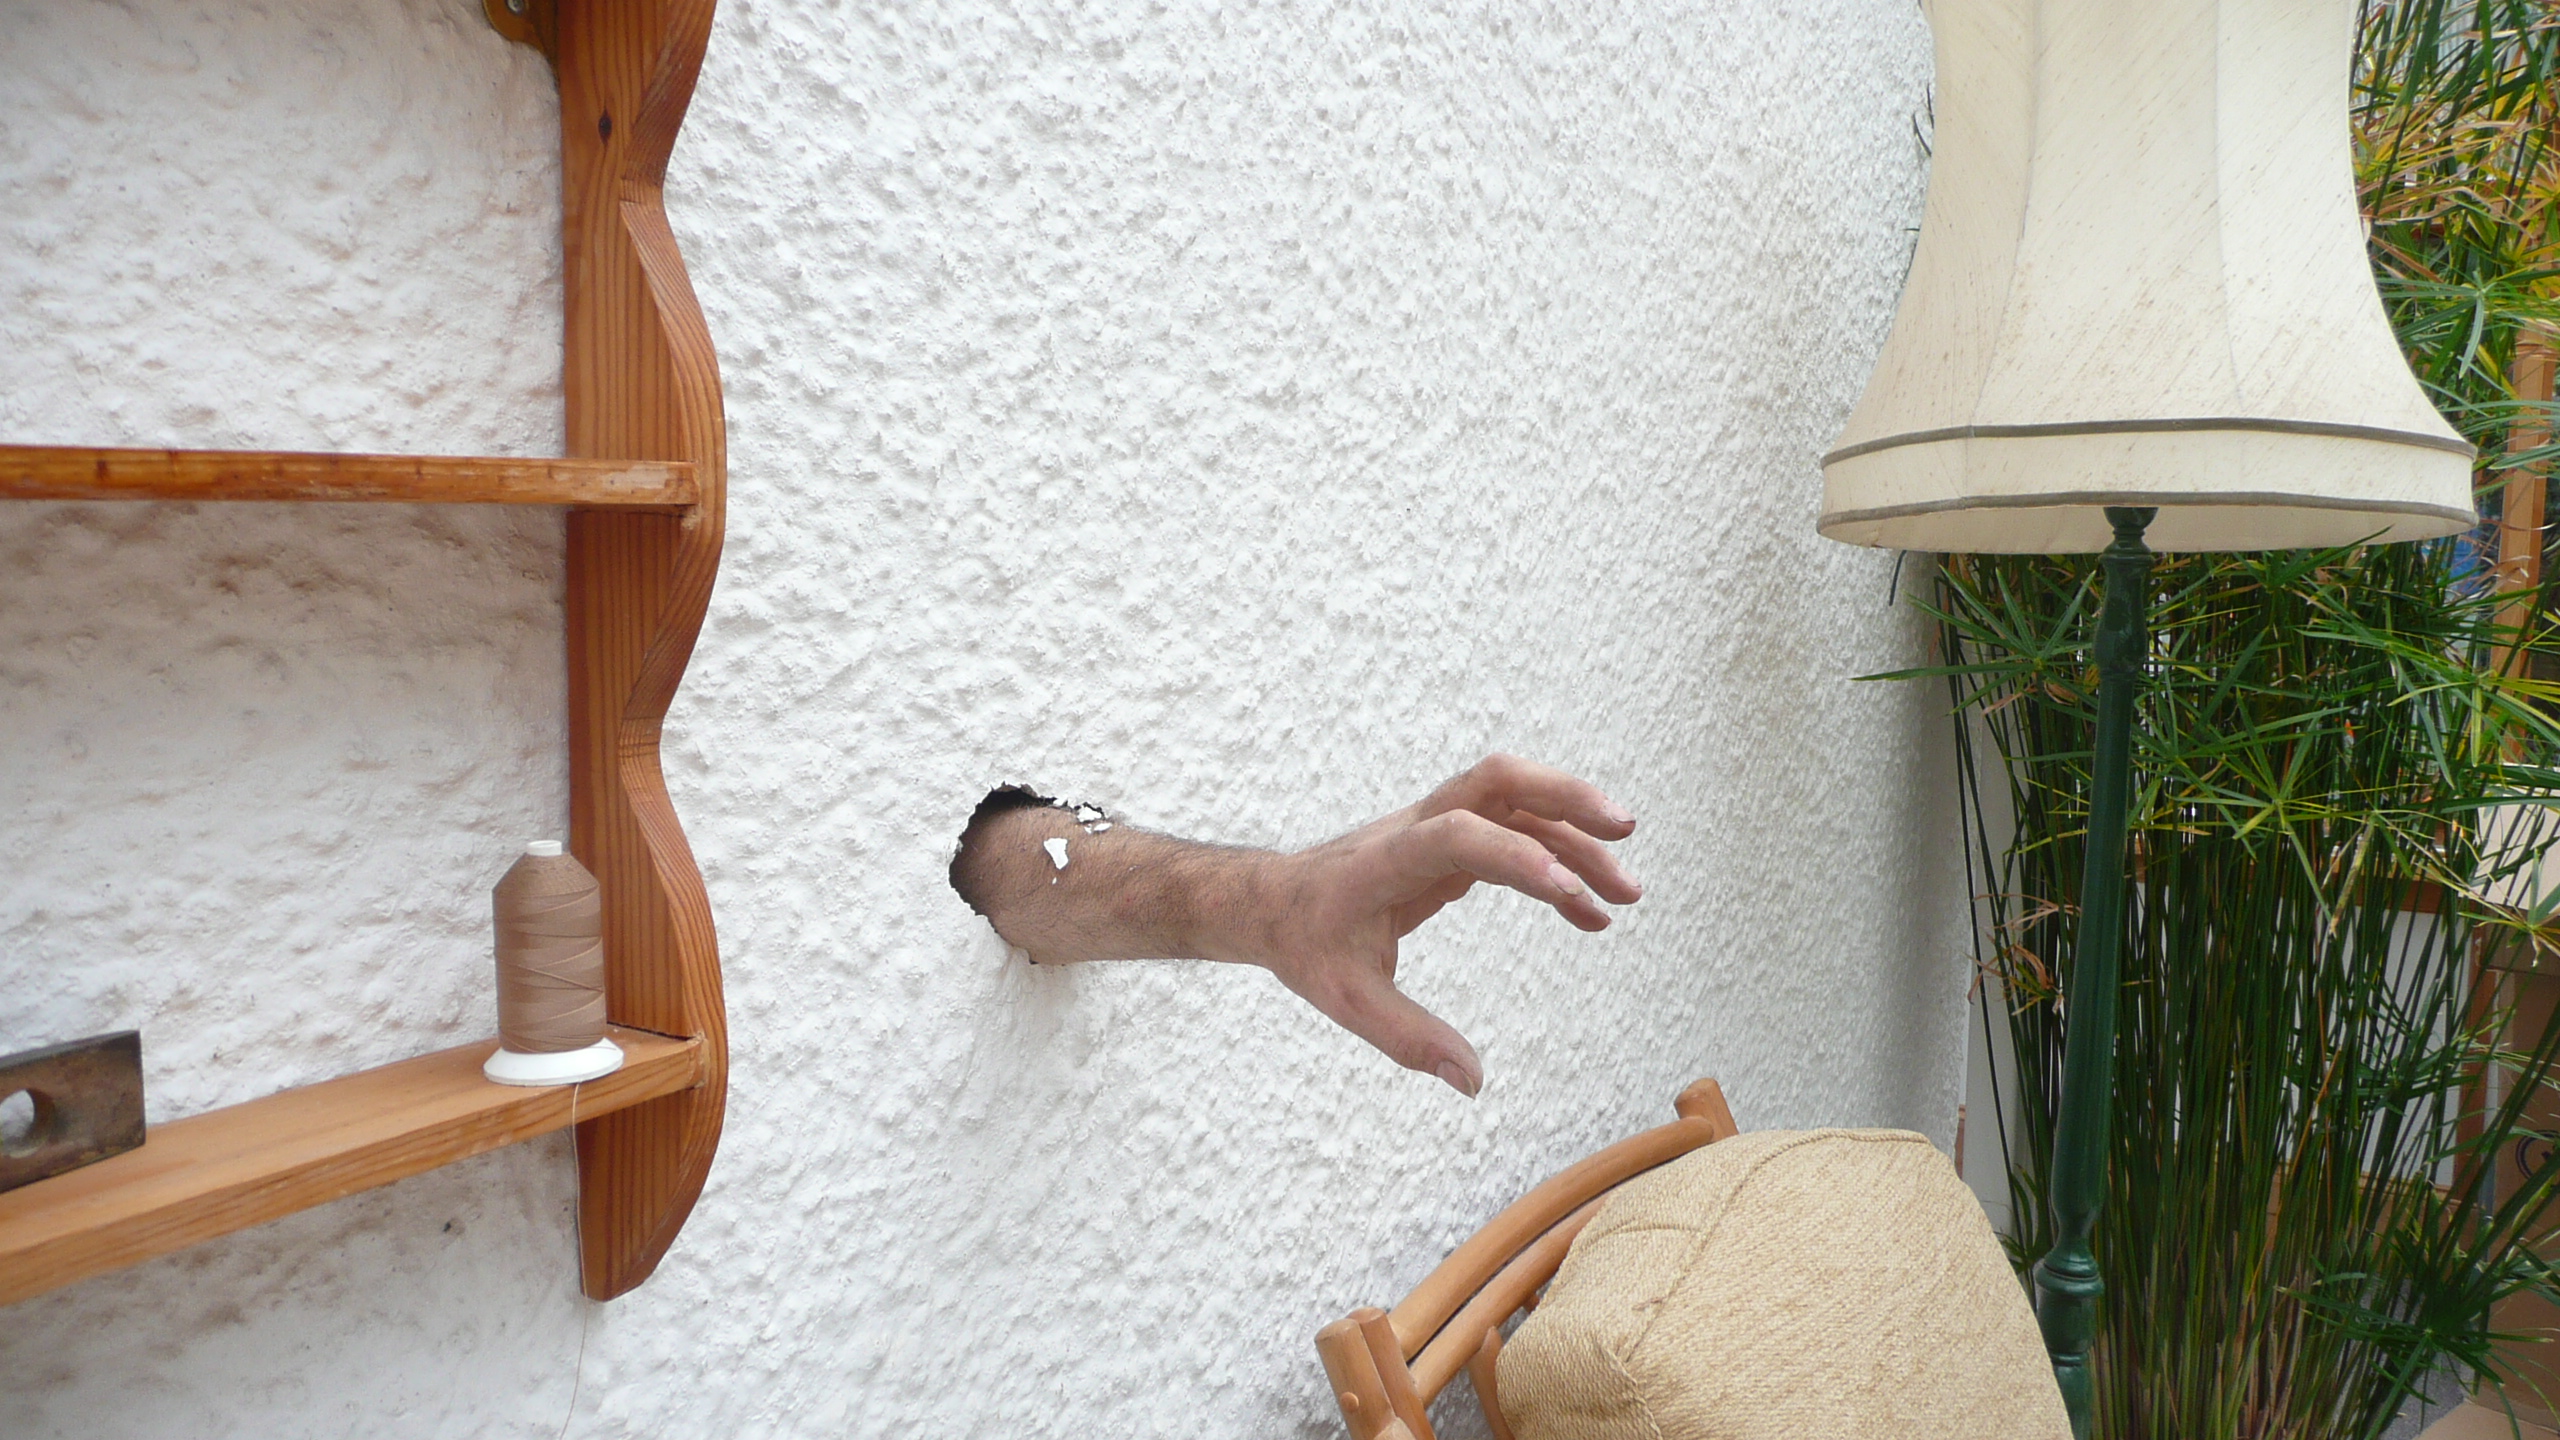
Inexplicably the cats were unimpressed with my "Demonic Hand Through The Wall" trick. Hopefully the warm stove in winter will be better appreciated.
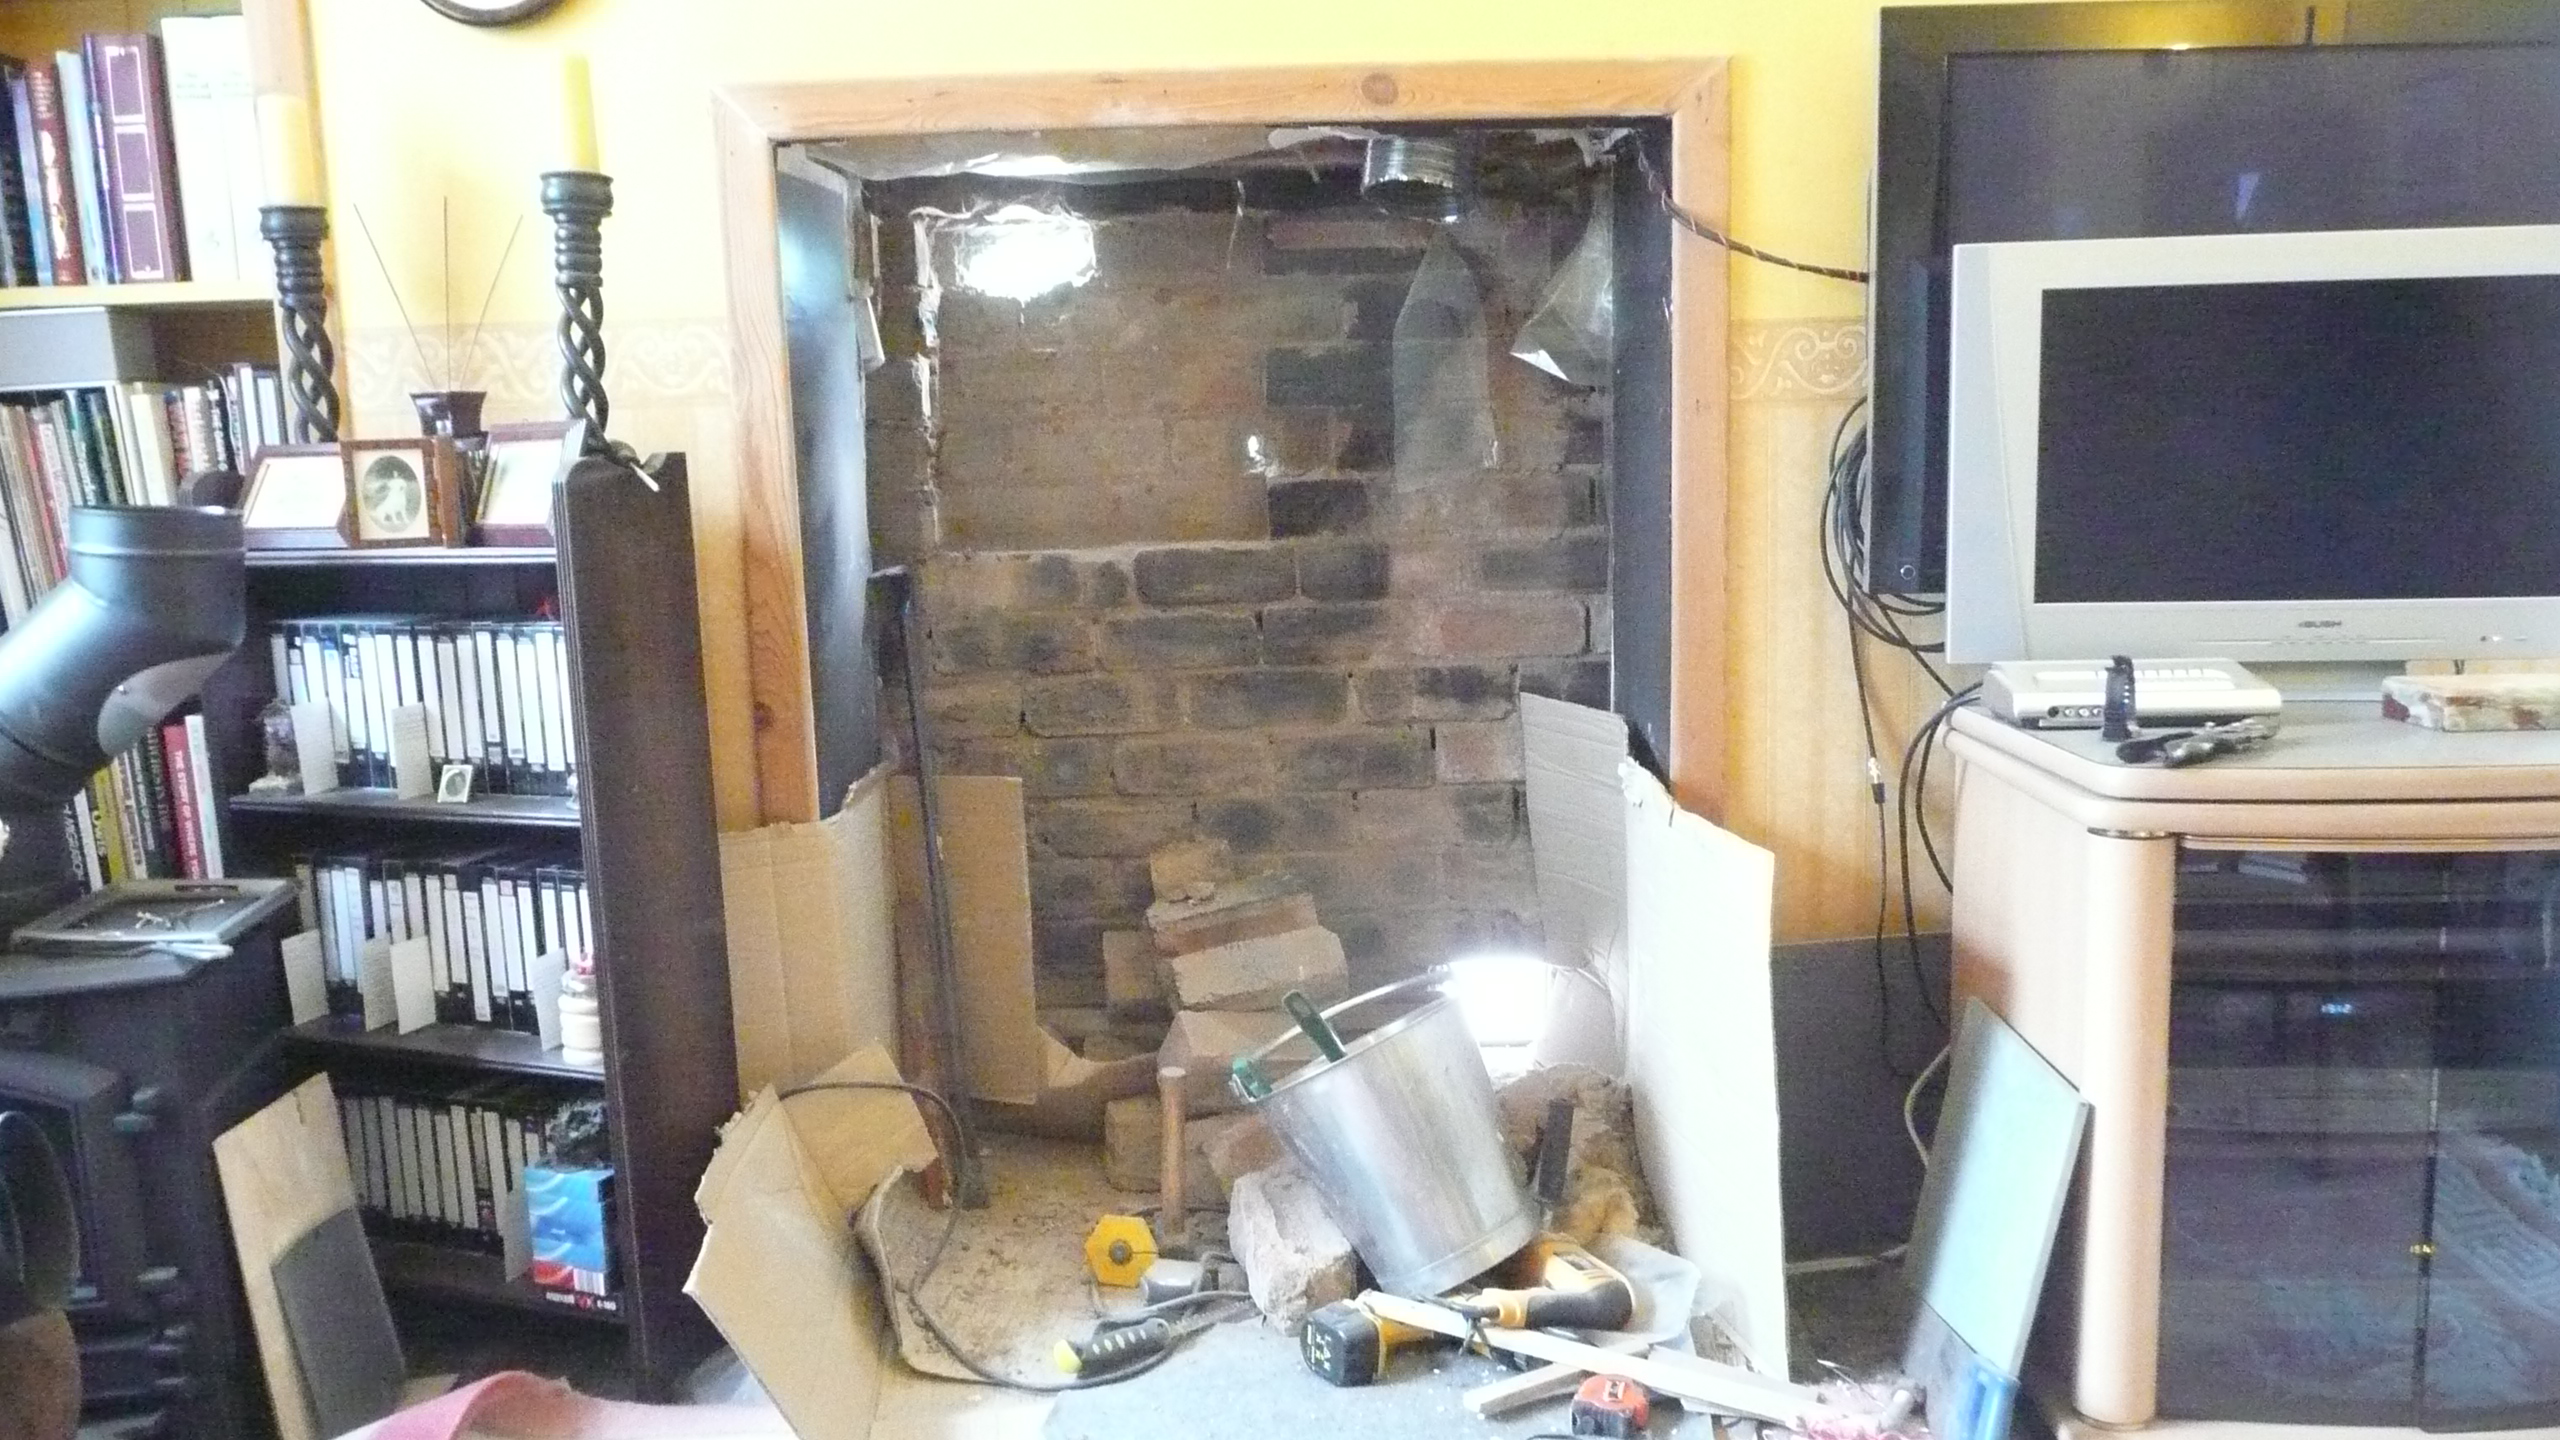
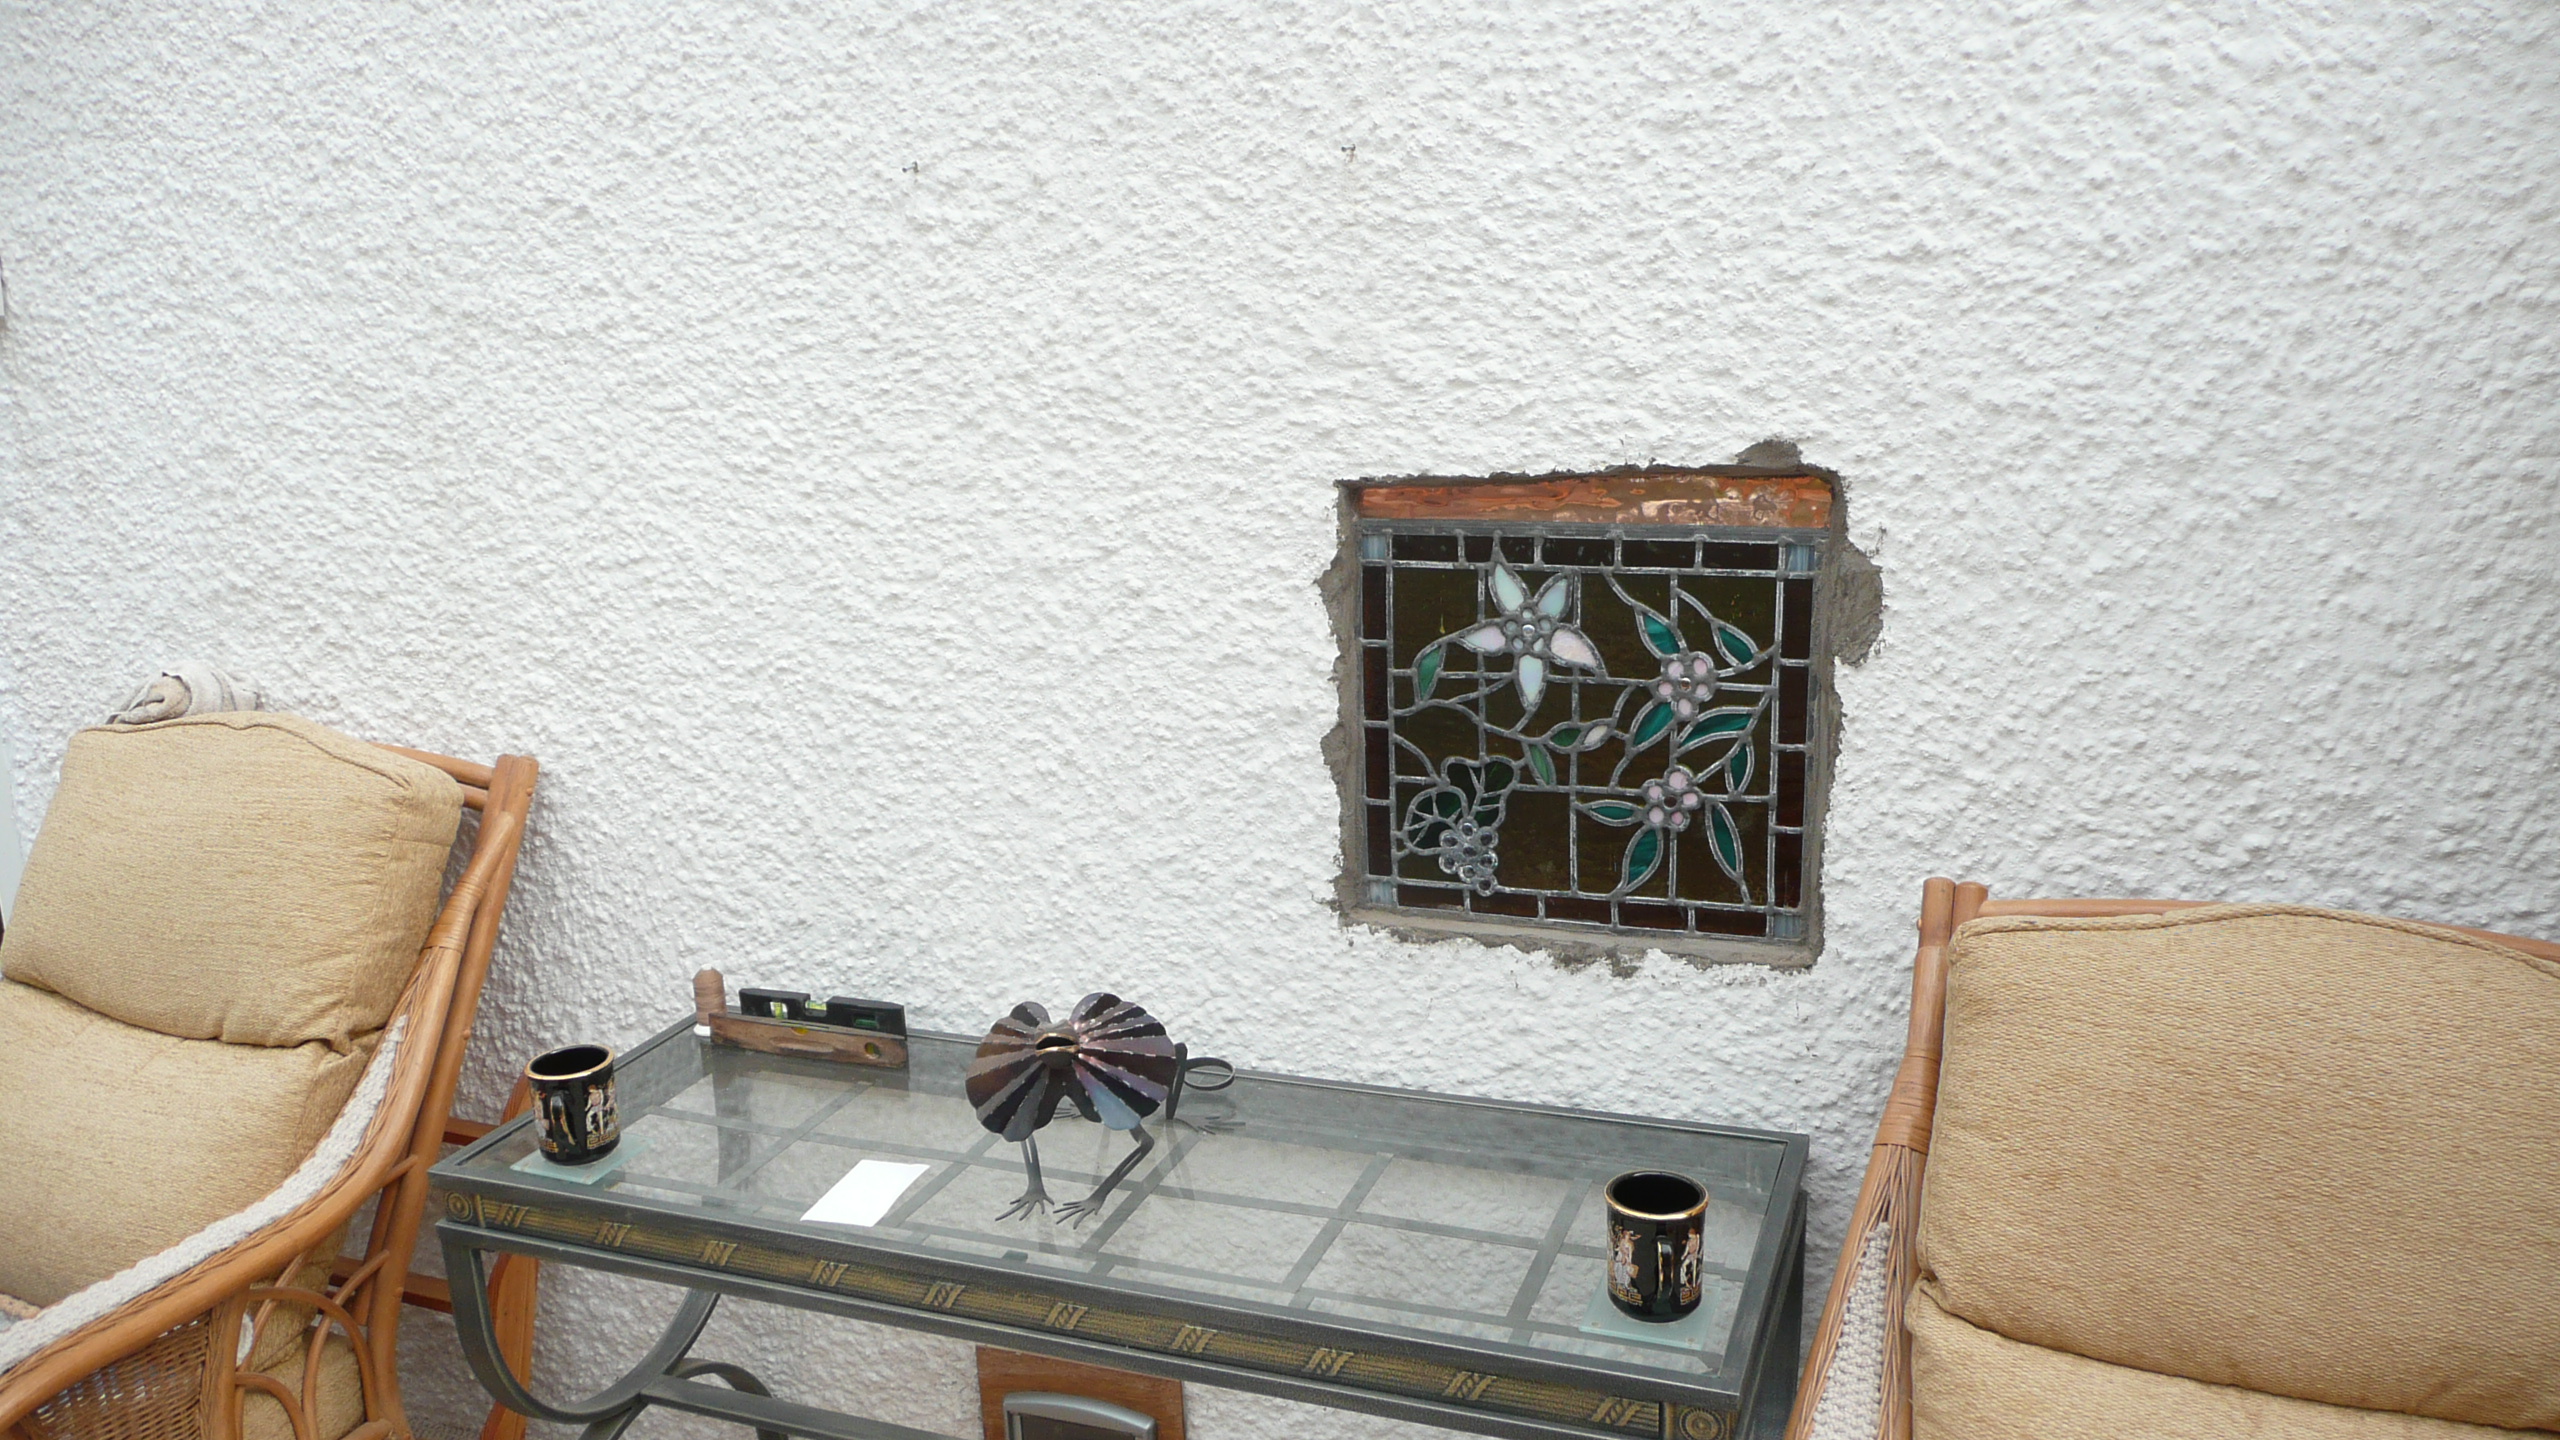
To keep the mess to a minimum I took the bricks away from the inside, leaving the paint which was removed after the dust had settled in the living room. That proved fairly effective at keeping the conservatory clean.
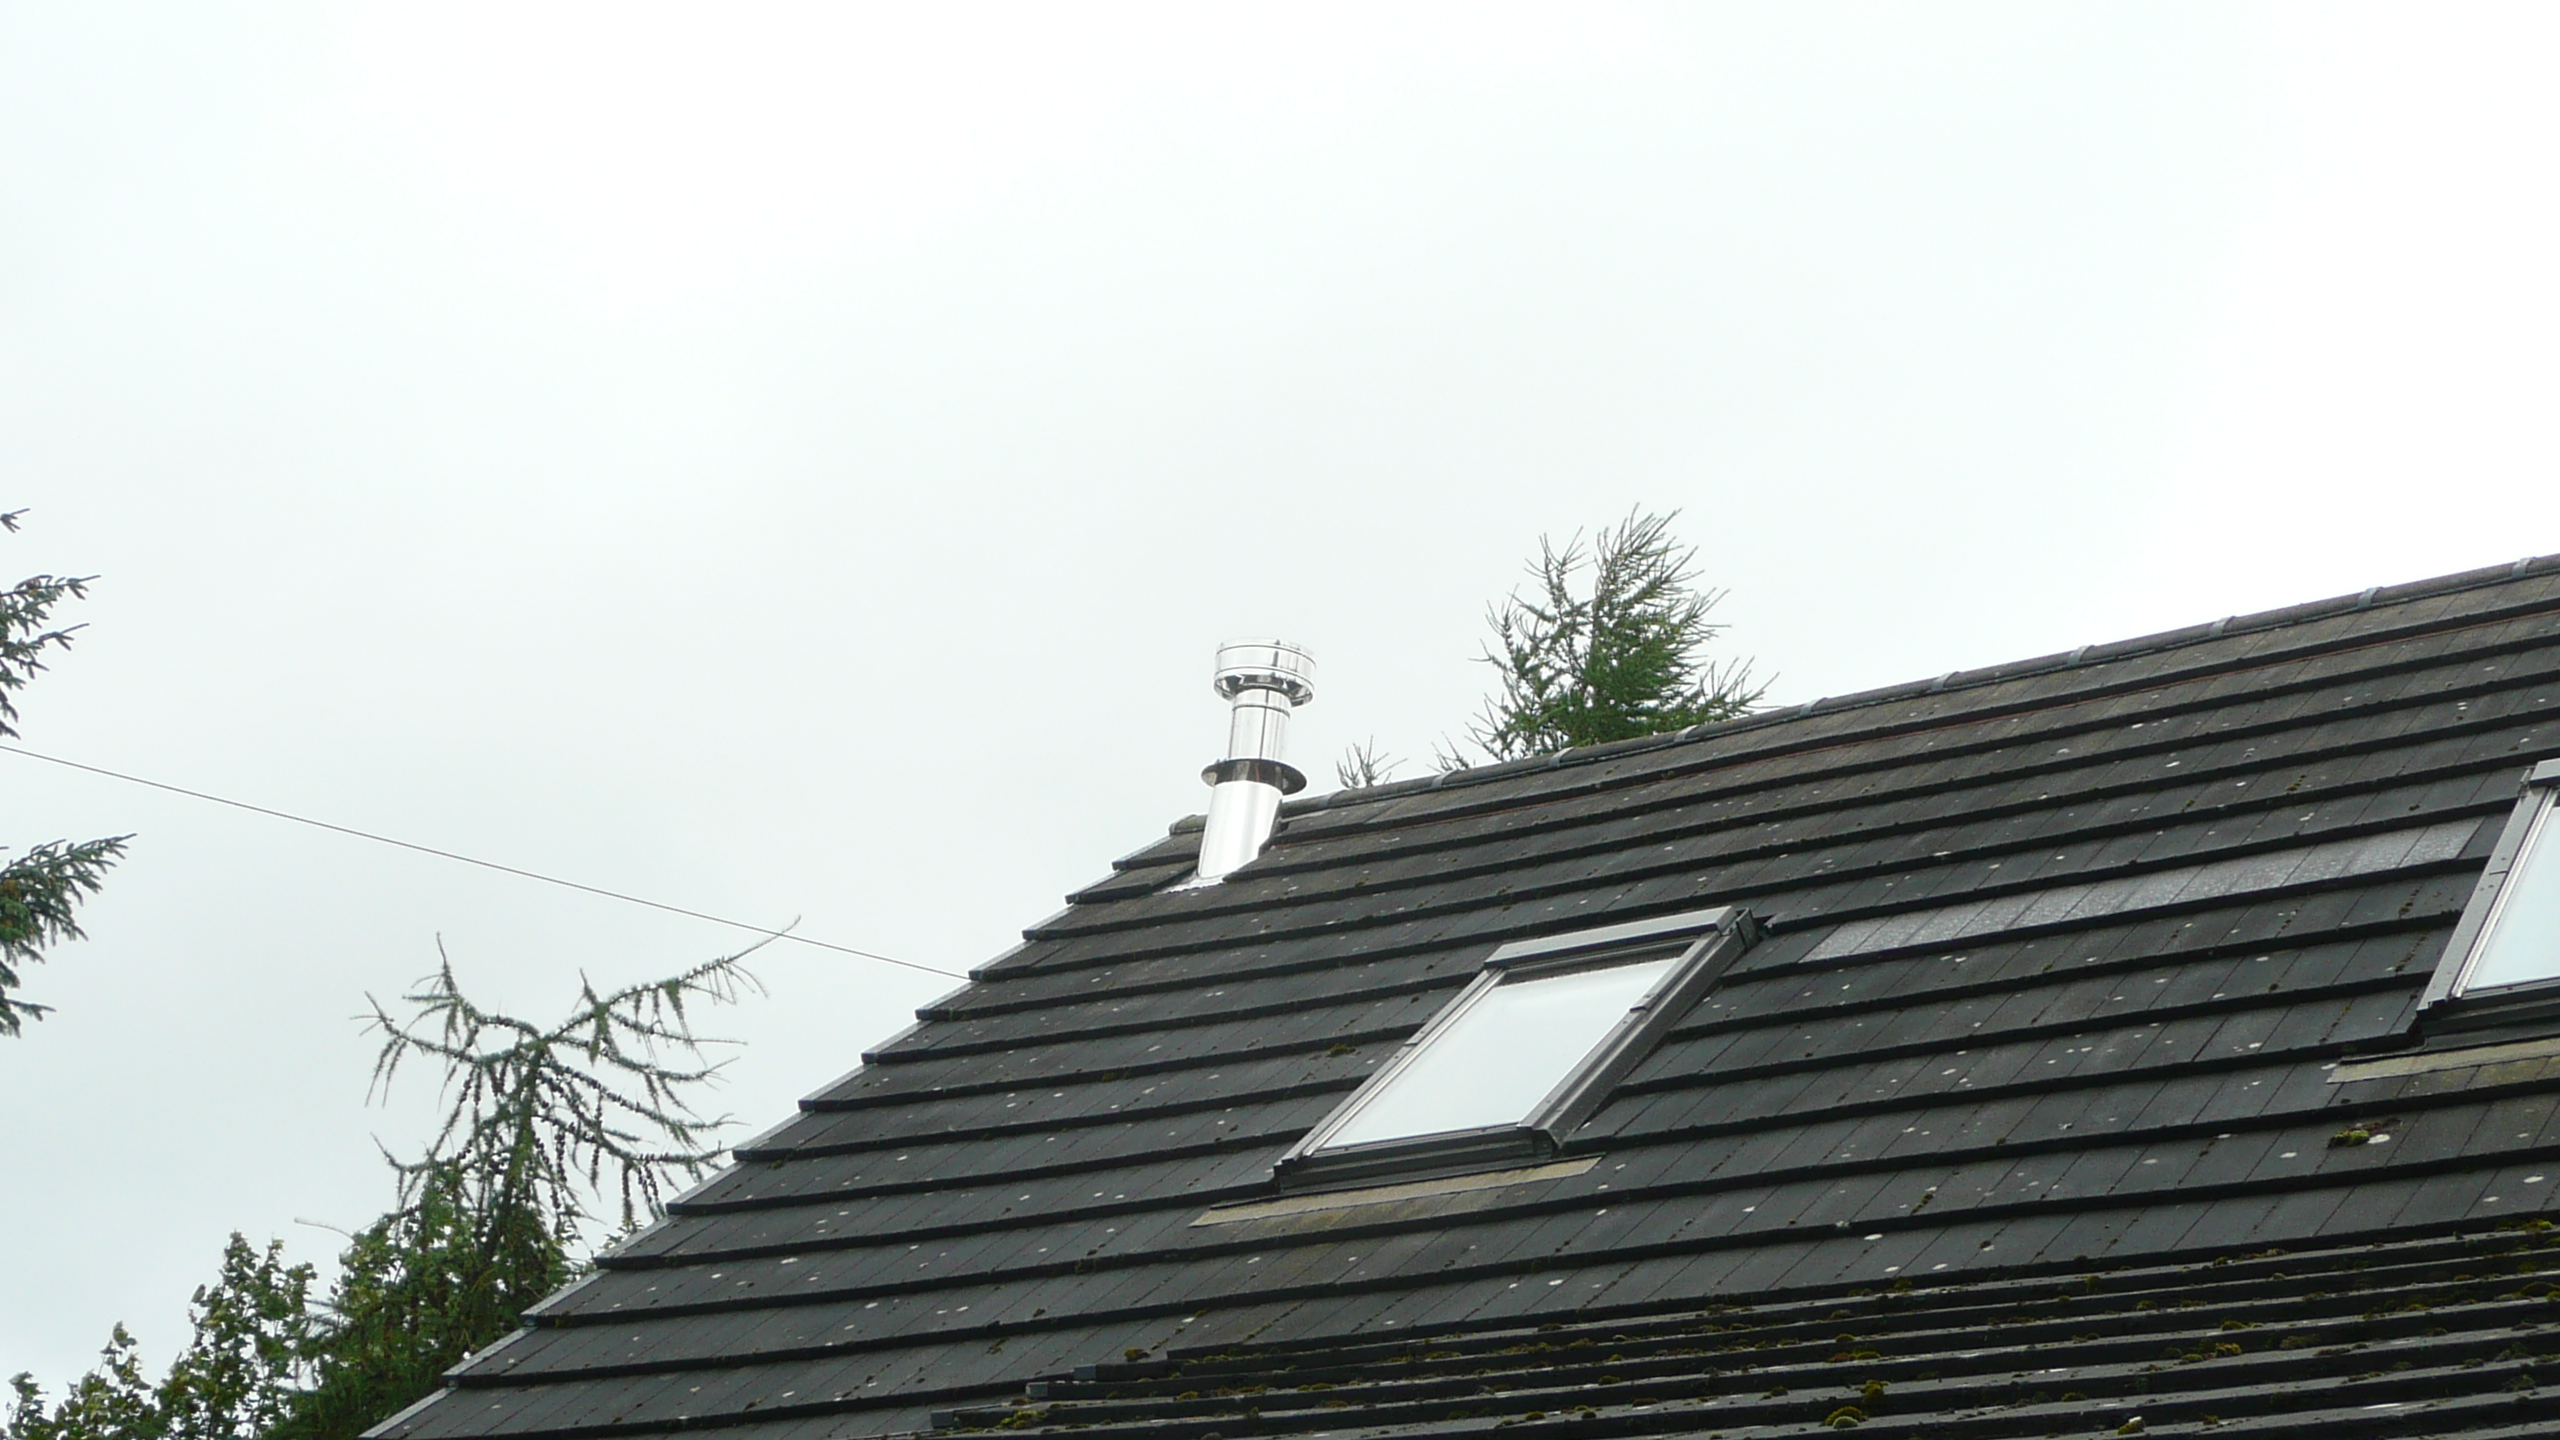
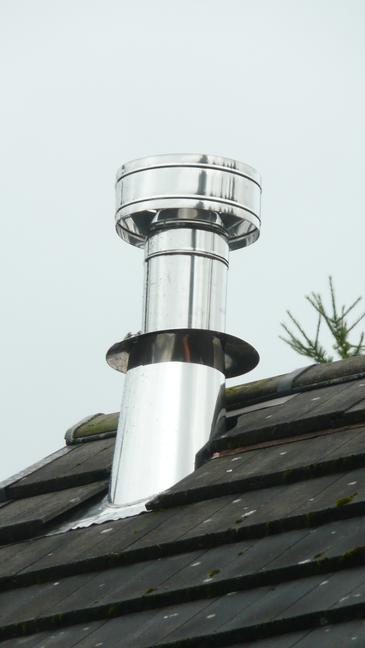
The entertainment continued with the wriggling of the flexible ducting up the remarkably wiggly chimney, ( I had to cut through the wall in the upstairs room to help it on its way) and then came the building of the new assembly on the roof.
You can imagine how much fun that was, given my dislike of heights, it had to be on the highest corner of the roof and nearest the edge. Get a builder you suggest. Well, I had looked at the price of having it done, and remembered the last roofer and his funny little ways, (don't ask), and decided to do it myself. Fear vs £1000? No chance, DIY and take a Spanish holiday to get over it. Ironically Fiona found the highest mountain in Spanish territory.
The chimney liner was free, because, in delivery to a neighbour, it had been damaged at one end, but I didn't need quite such a long piece. Free is good.
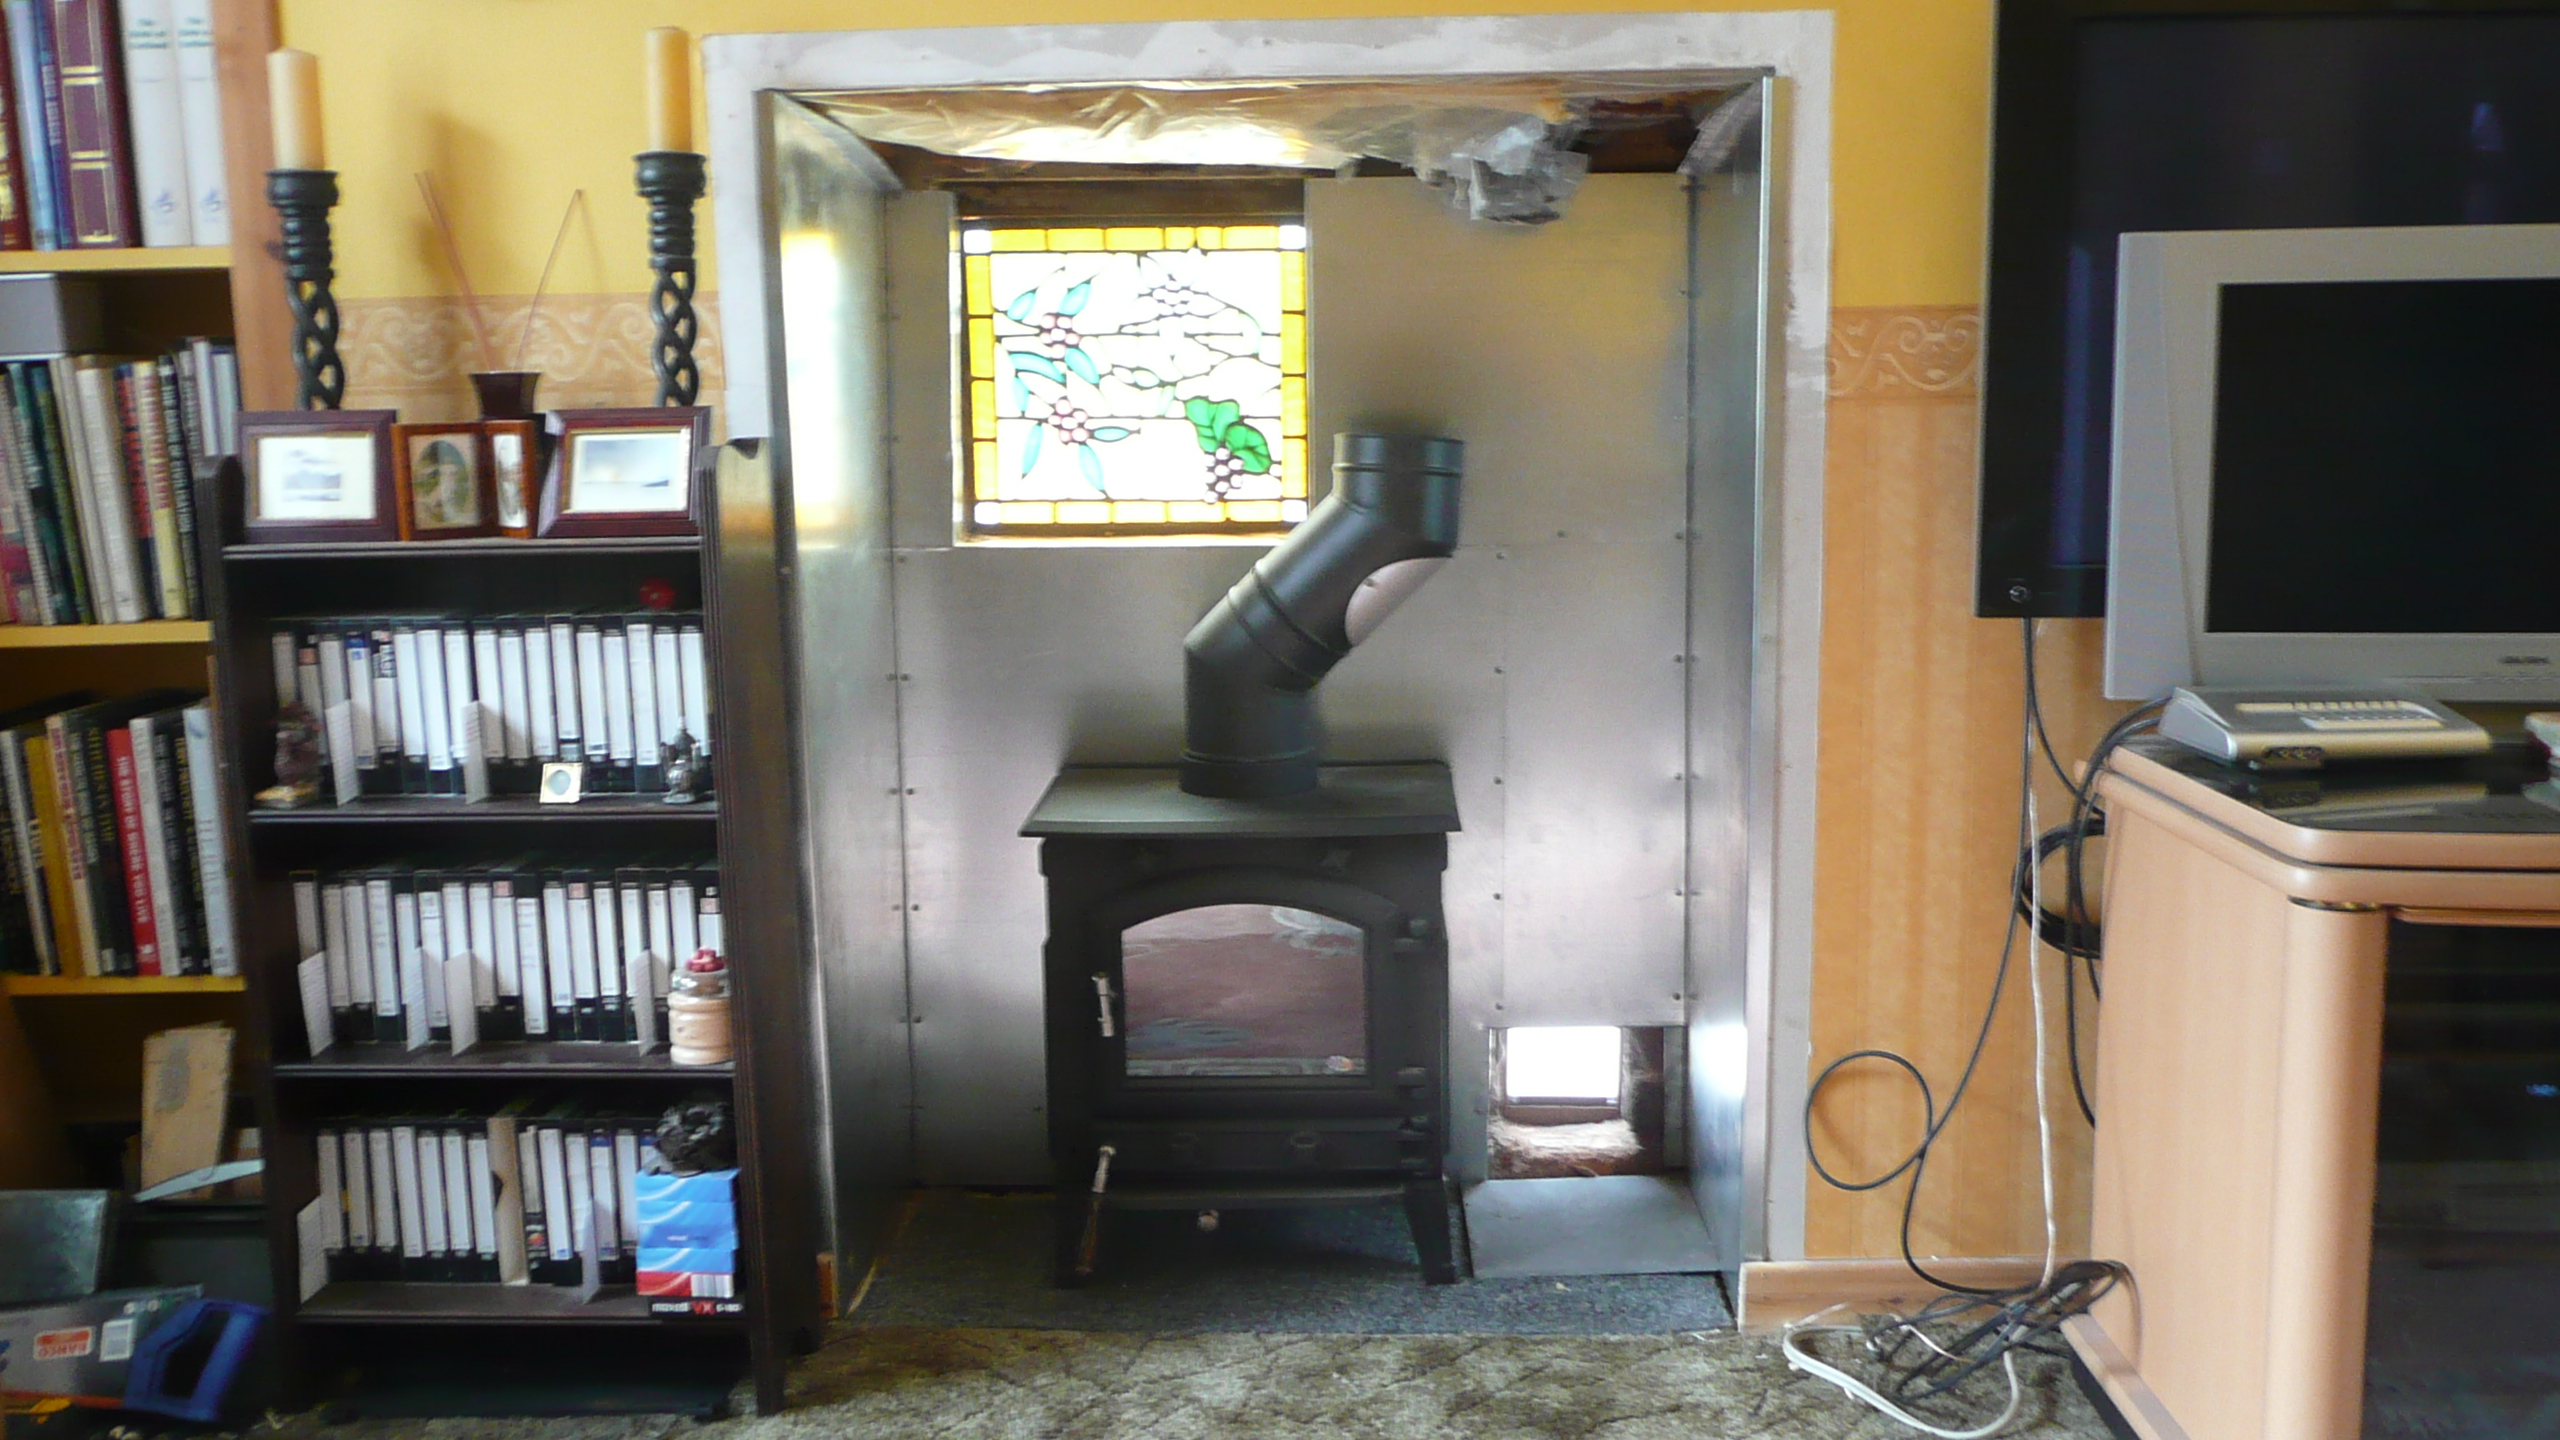
There was just one more bit to come from Fluesupplies.com (good prices) and I could join the flexible liner to the black powder coated pipework that comes out of the stove. Now that's in, I can make up the upper panel in the fireplace.
I was thinking of copper, but I hate polishing, so I used galvanised steel and may apply oven black if it seems too bright. I may build an insulated tunnel for the cats, I'm not sure how they'd feel about coming in next to a hot stove.
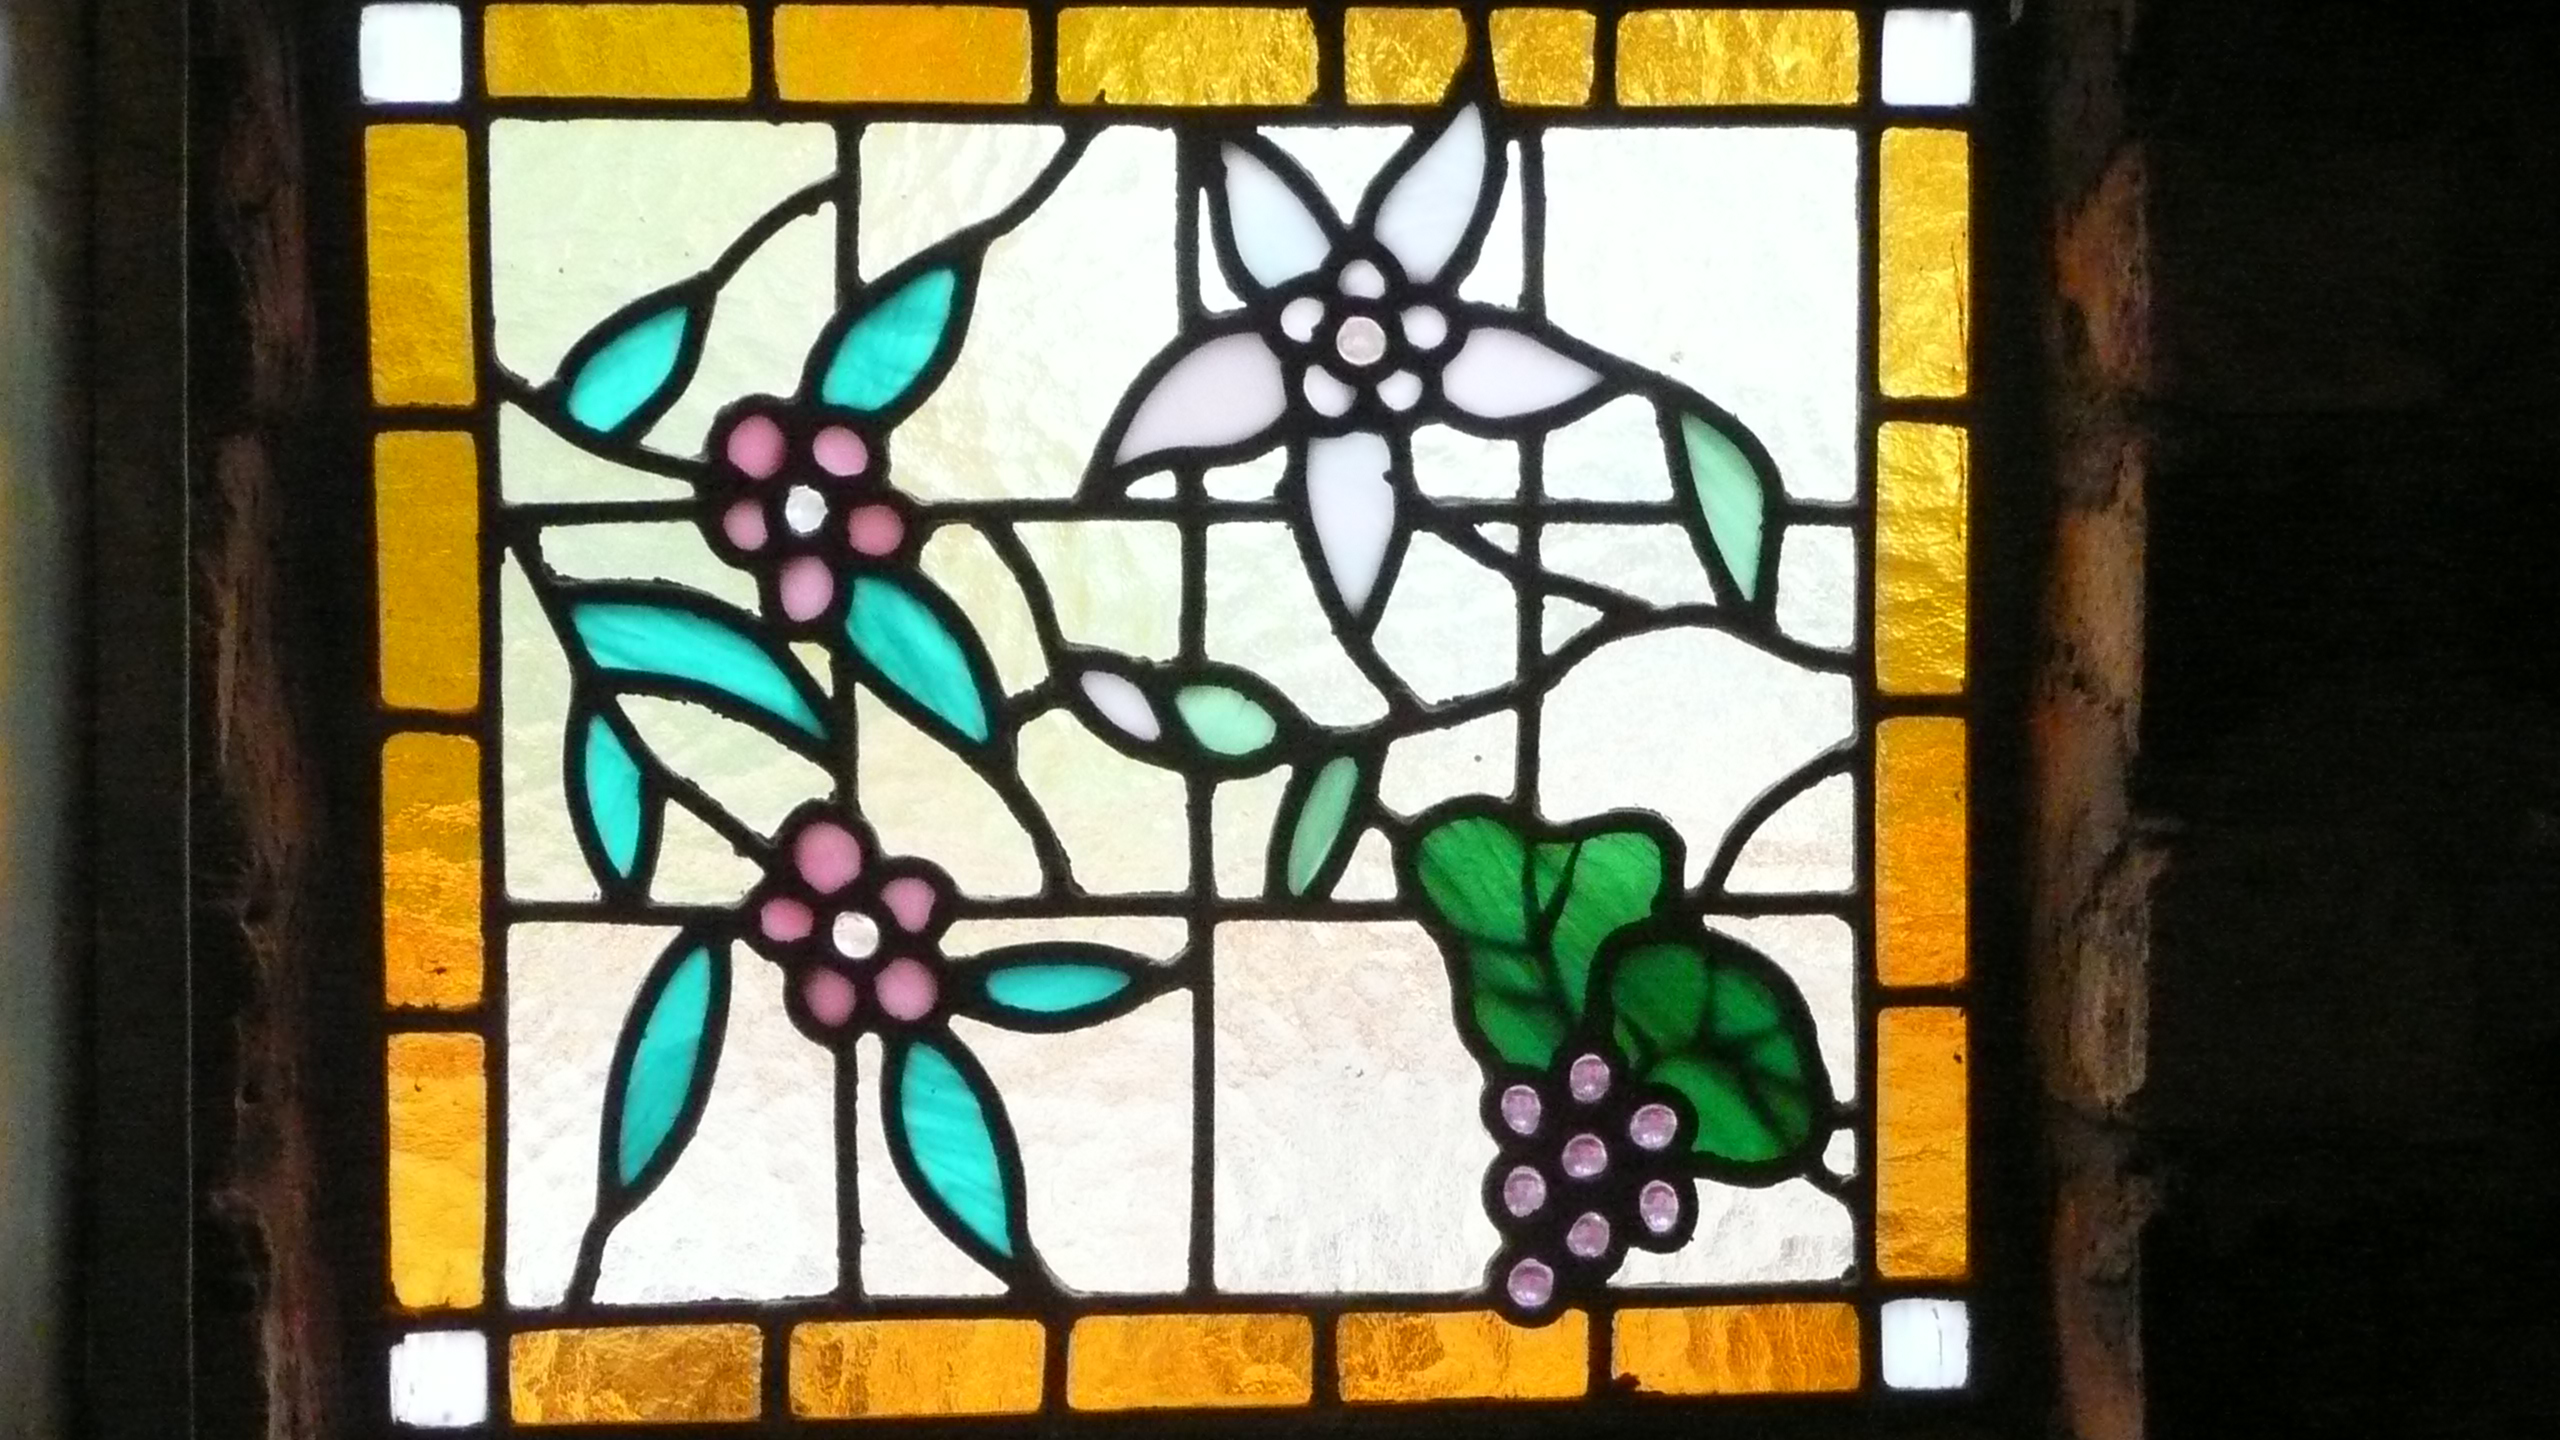
Wood Burning Stove project 2010.
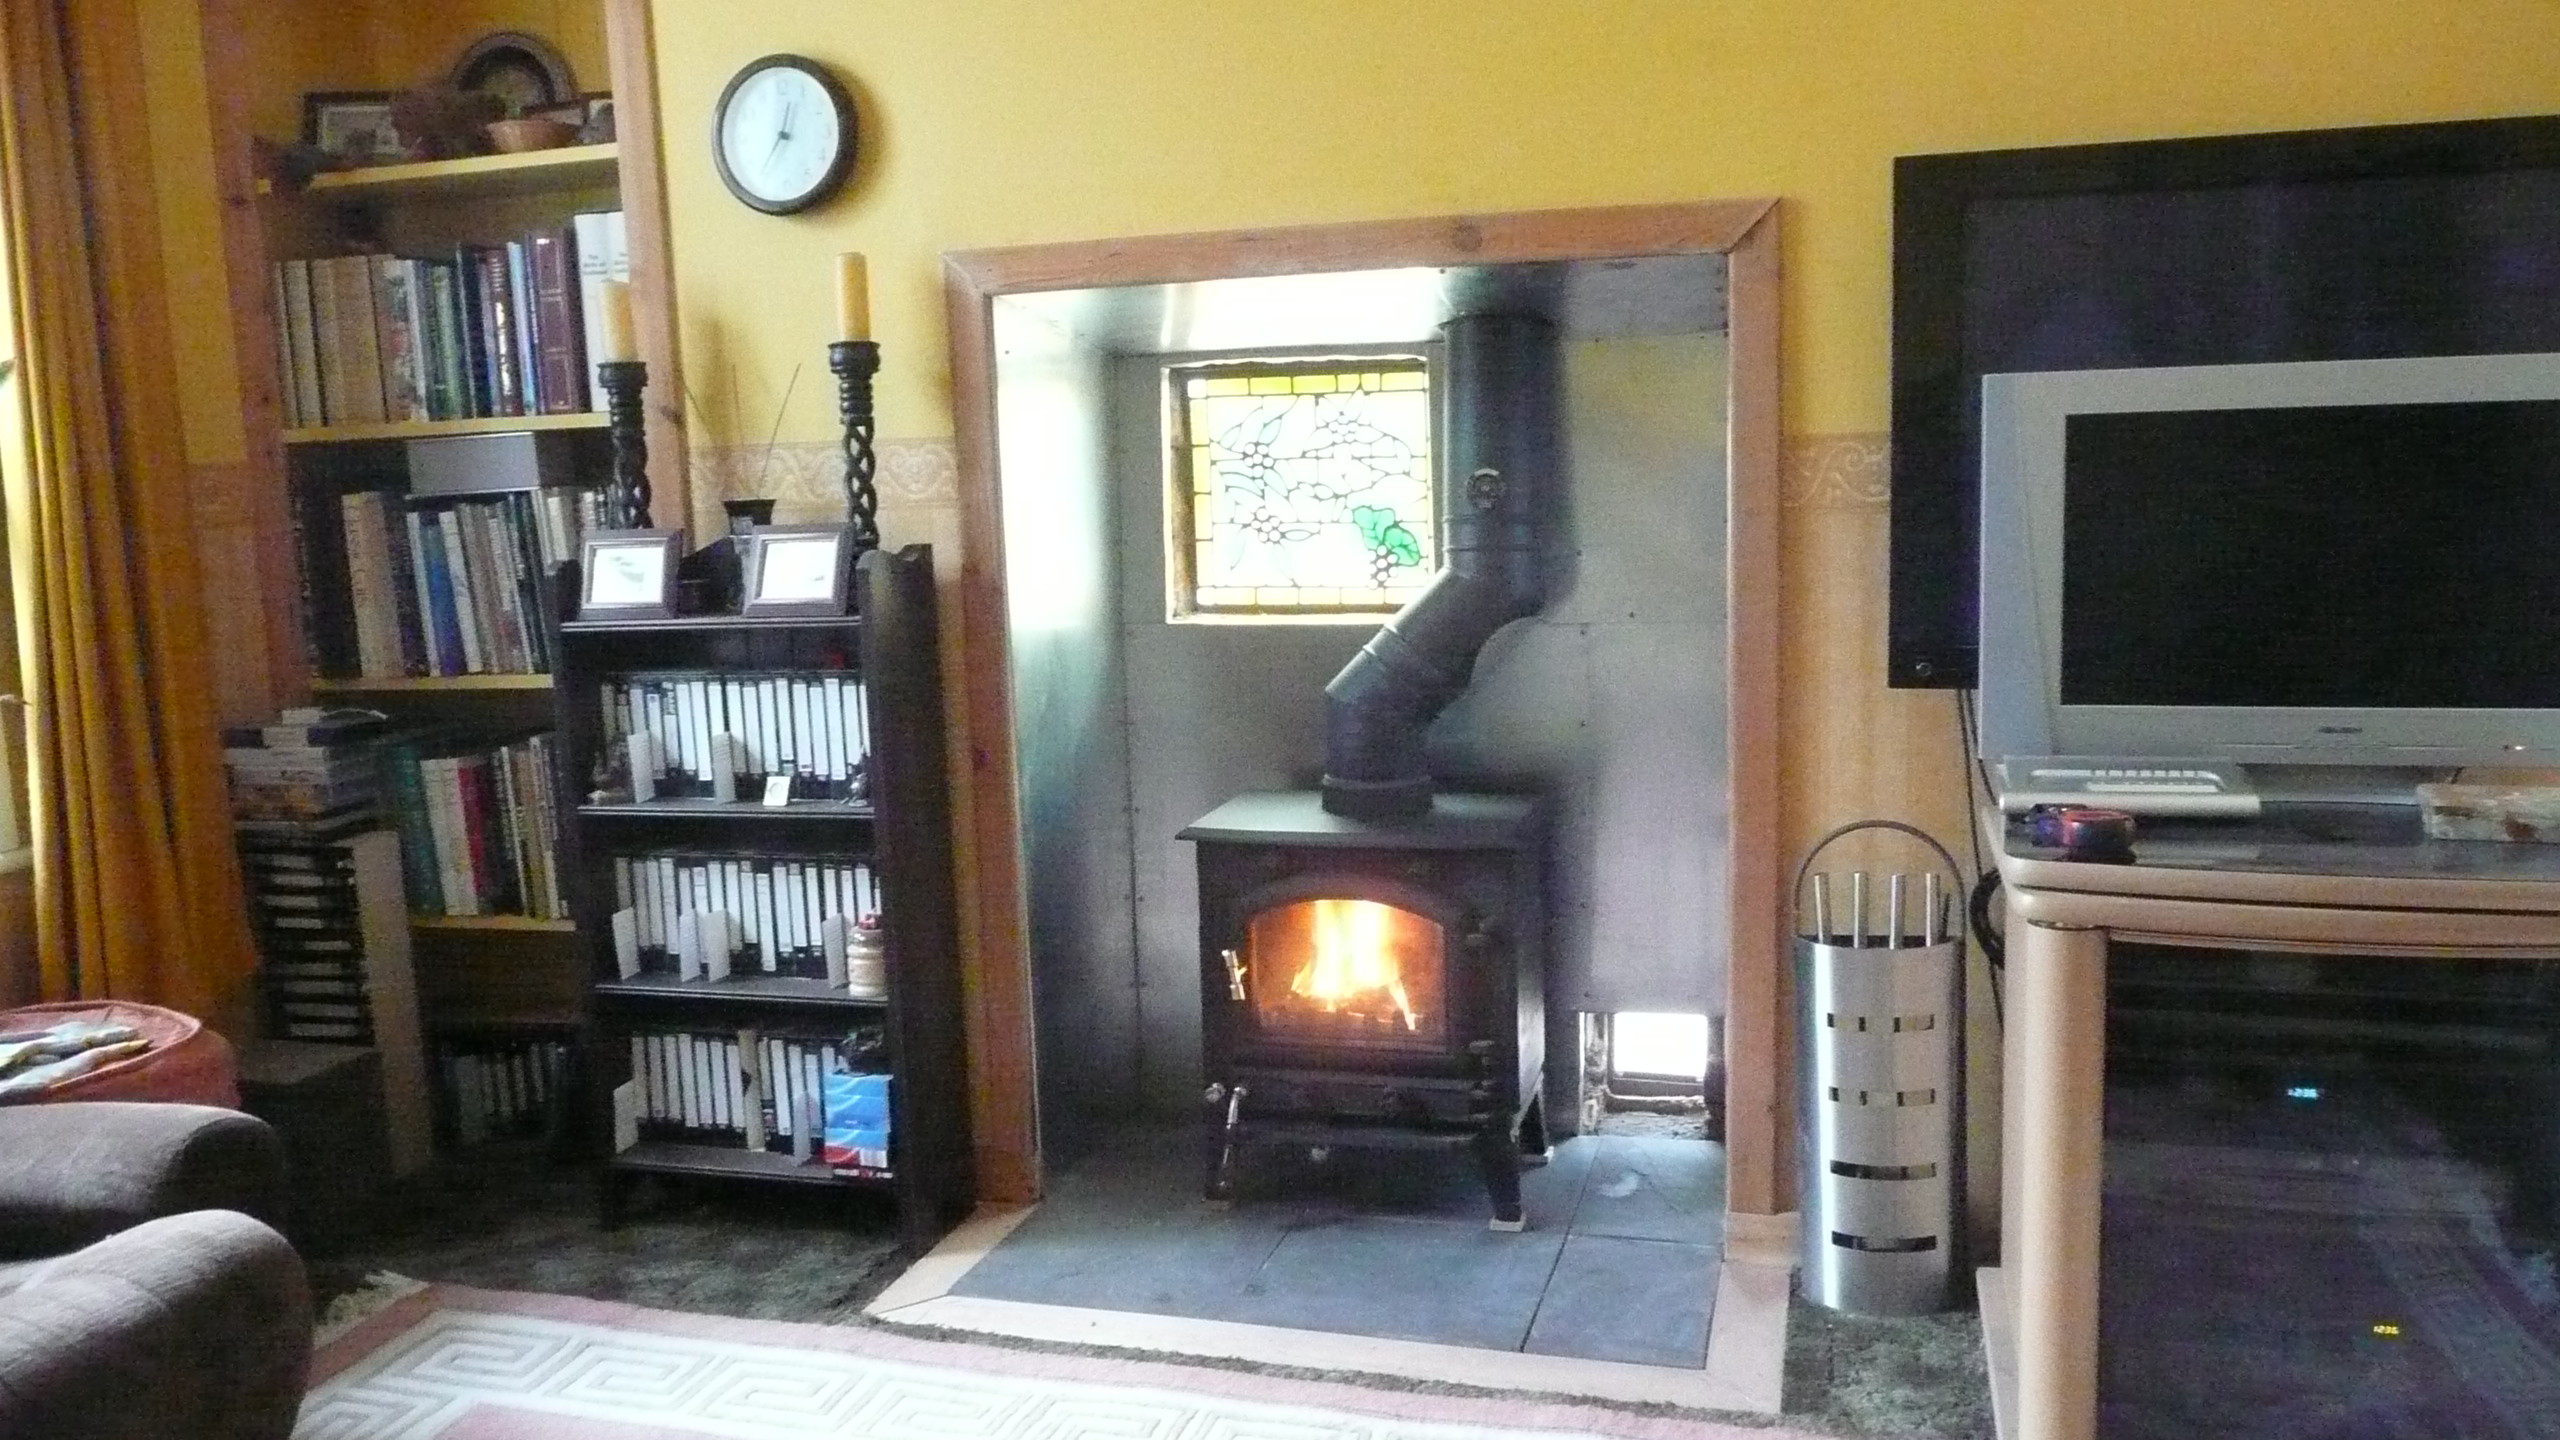
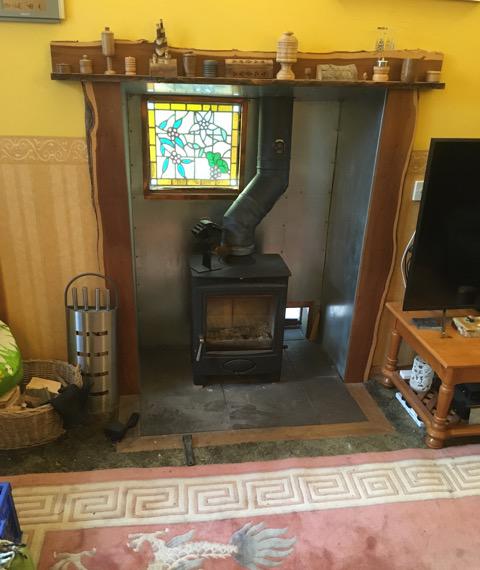
It's nearly all done now, We'll not need a cat tunnel. They started going past the fire with no trouble after about half an hour of suspiciously staring at it, presumably checking that we knew that part of our house was on fire and were OK with that.
The fire in the picture is just some newspaper, the real test was last night, with a convenient howling gale to check it for controllability, rather useful, as I now know it is controllable in high winds.
It worked fine apart from the uncooked stove paint setting off the smoke alarms. That's stopped now, they usually smoke if the temperature reaches a new high, so I took it up to 175 centigrade. I'll 'cure' the paint properly later, and take it up to full heat, with the windows open. 14/09/2010
Welcome to the Jim and Fiona Hewlett Owl powered Web Pages
Newsletters
Holidays
Projects
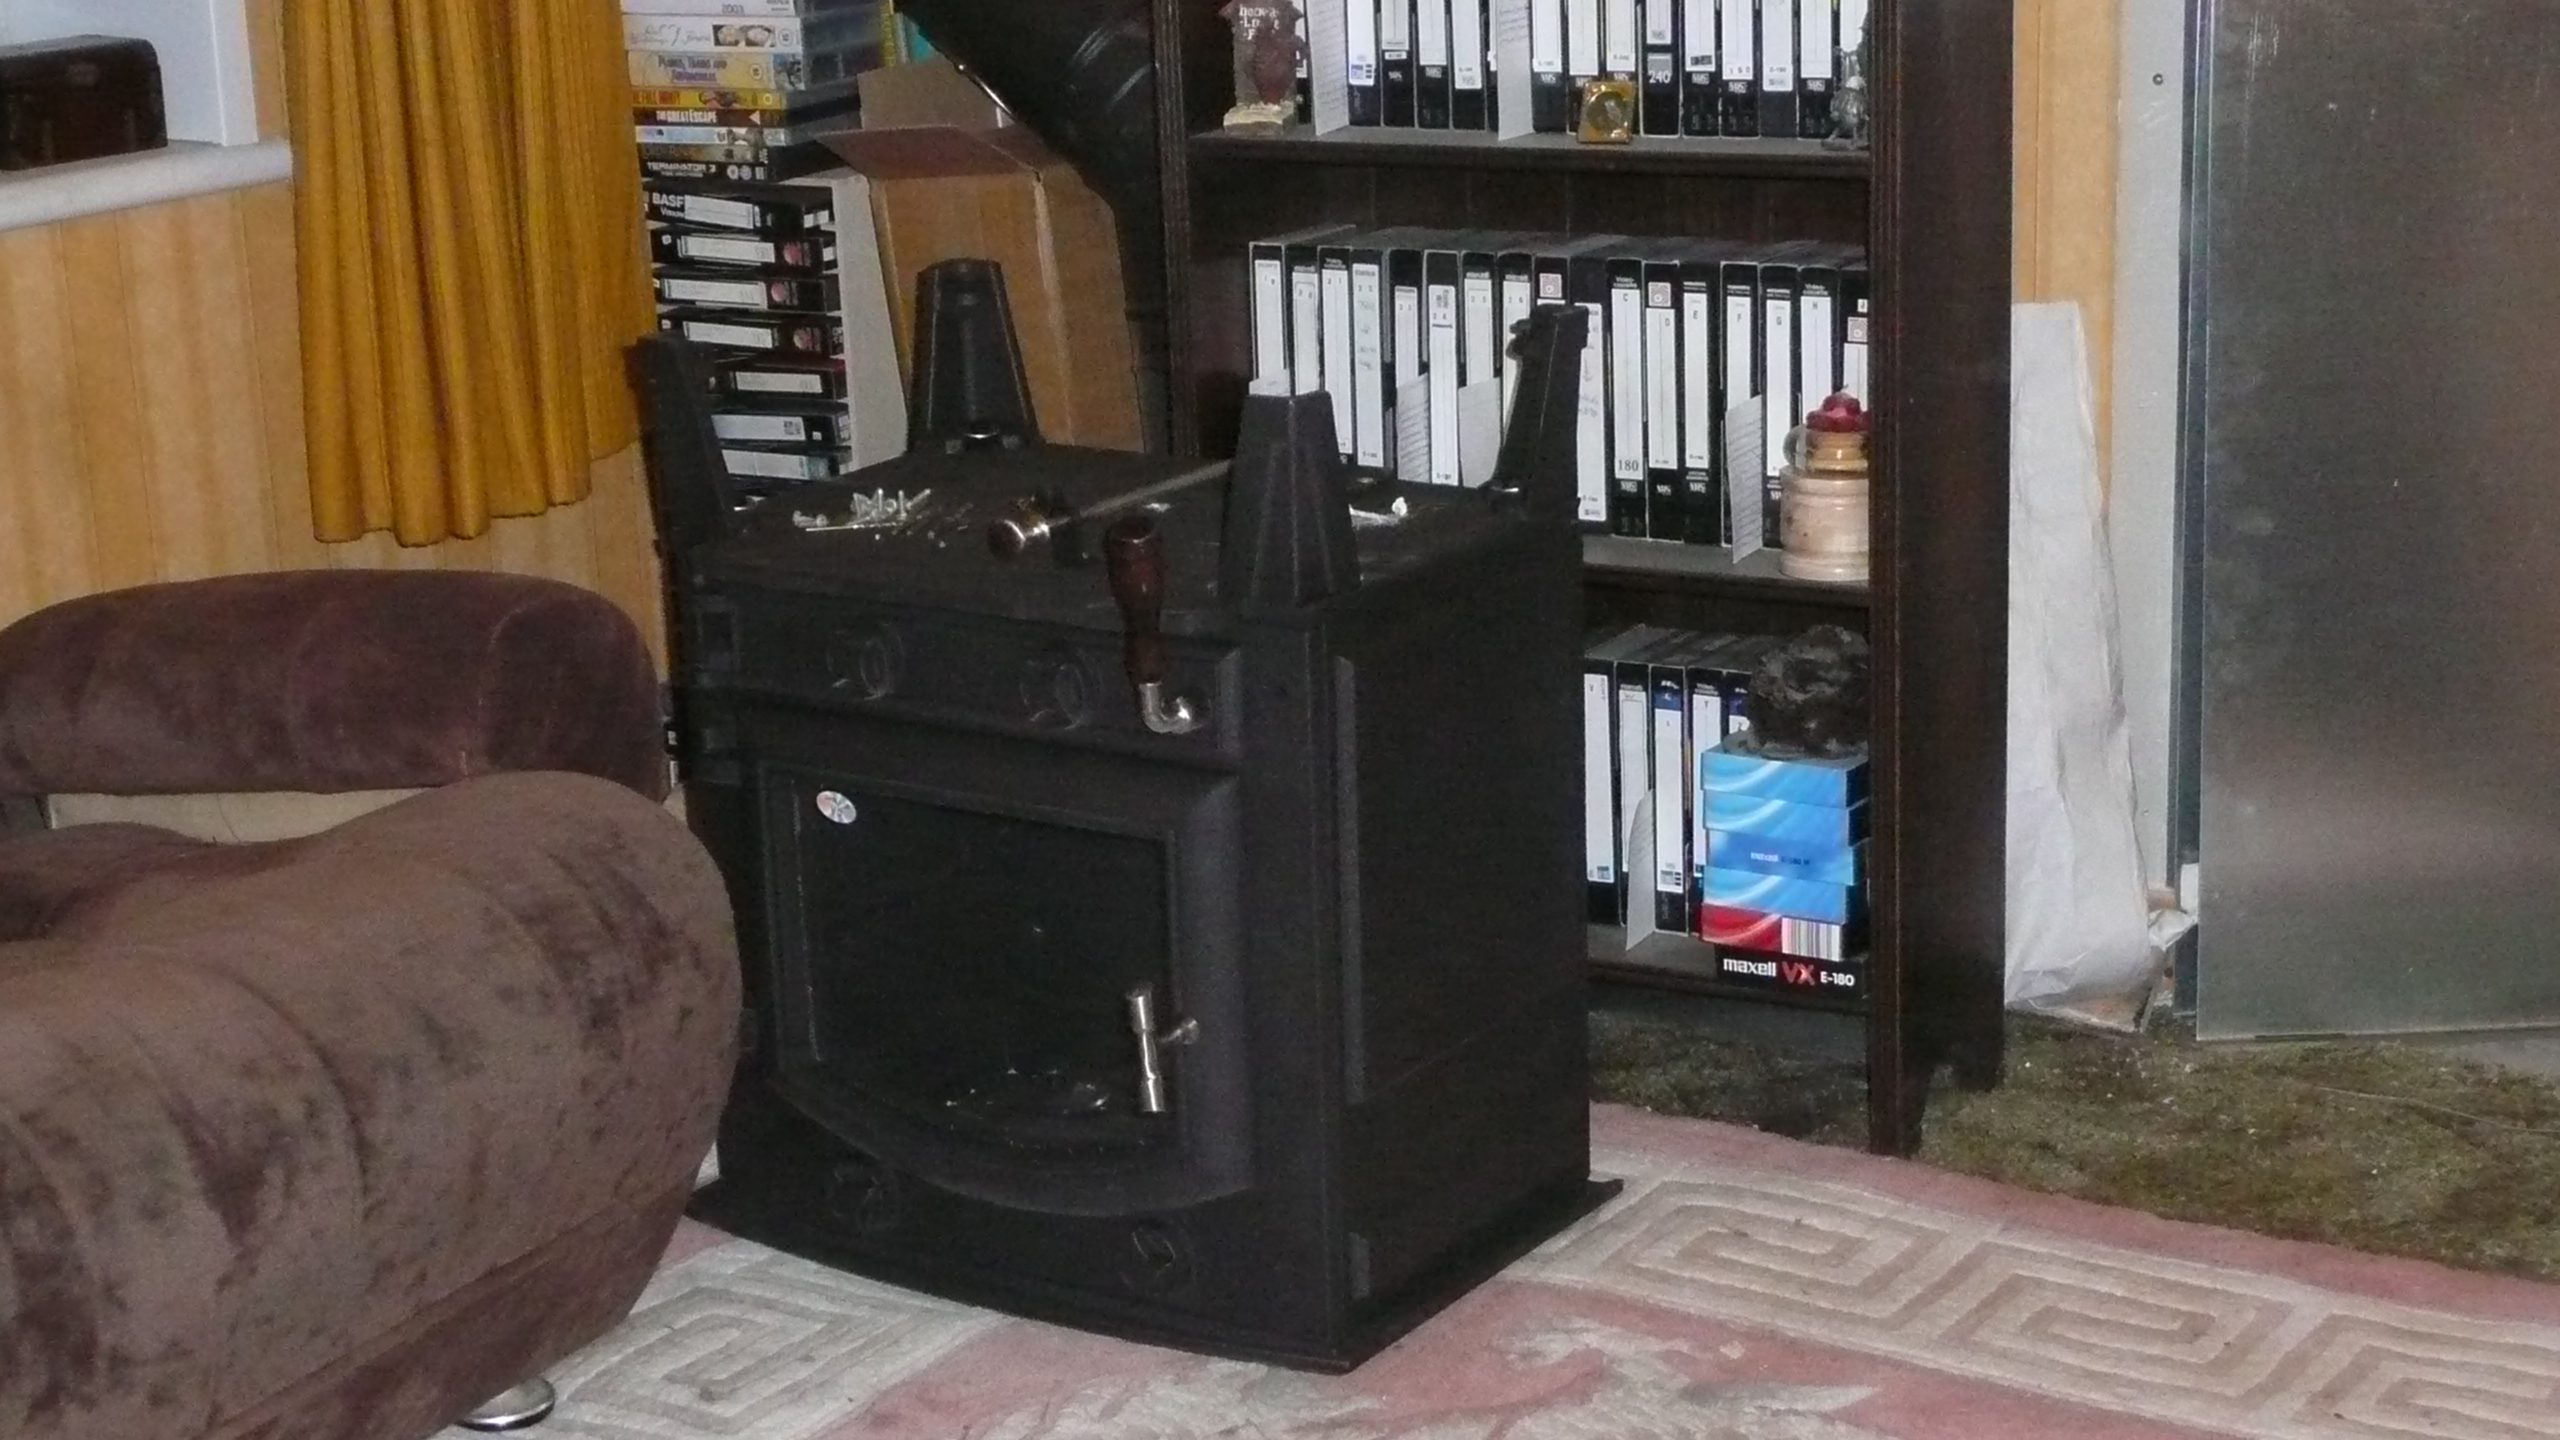
The fire worked well and was used for ten years. It was still working when I decided to put it into our rental house as the tenant was asking if she could have one. I bought a new 'Aarrow' for ourselves which is seen below, slightly bigger, and distinctly more expensive, it is better made but not as well designed as the Chinese predecessor. The fireplace is unchanged but the surround is new and the television upgraded. 25/11/2020